Important Disclaimer
BatteryStorageHQ provides educational content and estimates only. We are not certified installers, financial advisors, or electricians. Always consult with licensed professionals.
To capacity-test a battery bank at home, fully charge it, then discharge it through a known load while a shunt counts the amp-hours that actually come out, stopping when the first cell hits its low-voltage limit. The amp-hours you measured are your real capacity — and on a healthy grade-A bank they should meet or slightly beat nameplate.
Nameplate capacity is a claim printed on the cell; tested capacity is a number you measured. The gap between them tells you what you actually own, whether the cells were as advertised, and — tracked over years — whether the bank is aging normally or hiding a developing fault. This is the test I run at commissioning and roughly once a year, and it is a core part of the battery maintenance and troubleshooting routine.
Why a Capacity Test Is Worth Doing
A capacity test answers three questions a voltage reading never can. First, did you get the capacity you paid for? Grade-A cells should test at or slightly above rating; a bank that tests well under nameplate was built from over-rated or mismatched cells. Second, how much usable energy do you really have for sizing decisions? Third, and most useful over time, is the bank fading at a normal rate or has a single cell started dragging the whole pack down?
That last point is the key insight: a capacity test measures your weakest cell, because the discharge ends the moment any one cell hits its low-voltage floor. A 16S bank is only ever as good as its worst cell, so a capacity number that has dropped sharply is often the first hard evidence of a developing weak cell — which is why this test doubles as a diagnostic, covered further in the weak-cell diagnosis guide.
The Method, Step by Step
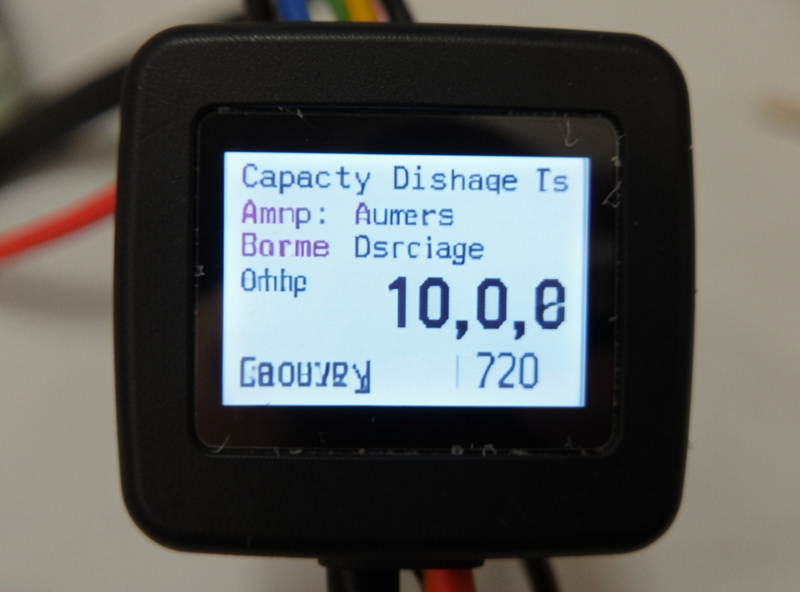
The principle is simple coulomb counting: charge full, then pull a steady, known load and add up the amp-hours until the bank reaches its low-voltage cutoff. The amp-hours counted out is your capacity. Here is the sequence I use. First, fully charge the bank to your normal absorption voltage and let it finish — a partial charge invalidates the test. Reset the shunt’s amp-hour counter to zero at full.
Second, apply a steady, moderate load — something in the range of a 0.2C to 0.5C discharge is ideal, gentle enough to be representative and safe. Third, let it run, watching per-cell voltages, until the first cell reaches its low-voltage limit (around 2.5–2.8 V per cell, per your BMS setting) or the bank hits its configured cutoff. Read the amp-hours the shunt counted out — that is your tested capacity. Compare it to nameplate.
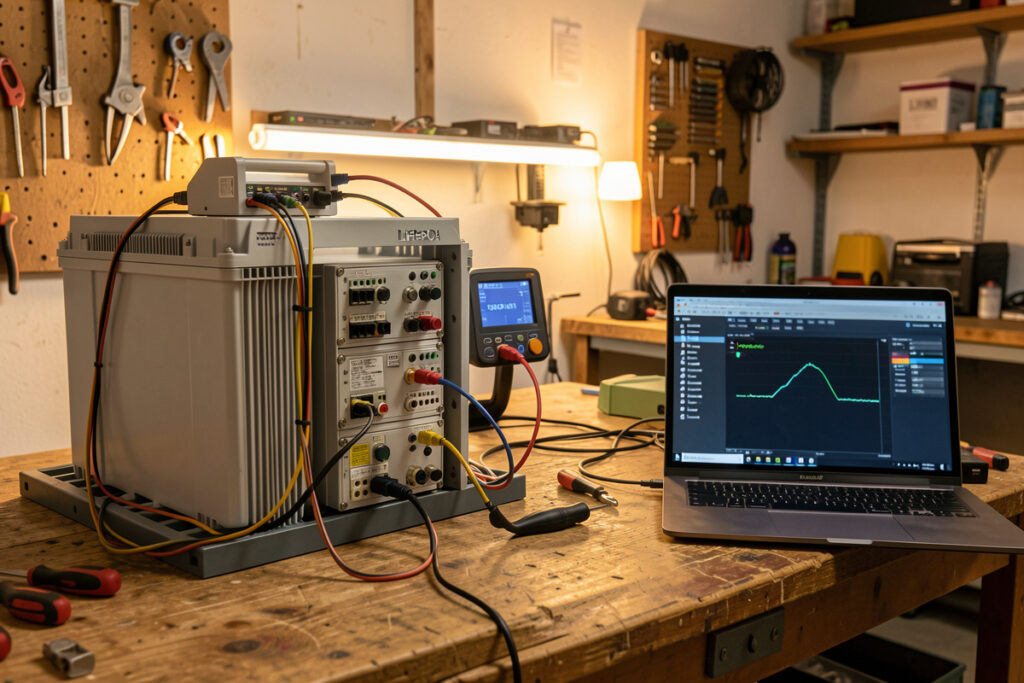
What You Need
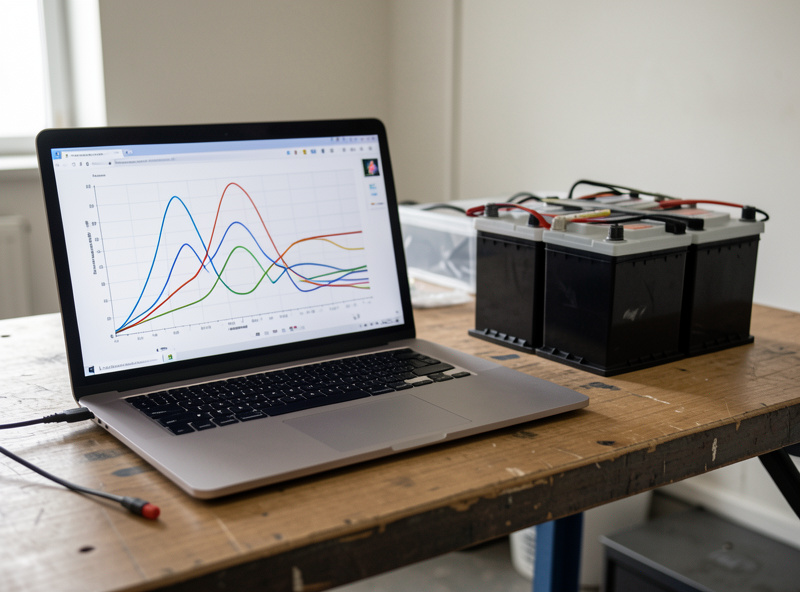
You do not need a fancy commercial battery analyzer for a home test. The essential tool is an accurate shunt-based monitor that counts amp-hours in and out — the same SmartShunt-class monitor you should already have for everyday state-of-charge tracking. Beyond that you need a known, steady load and a BMS reporting per-cell voltages so you can see which cell ends the test. My Home Assistant dashboard logs the whole discharge curve, which makes the result easy to read and to archive for next year’s comparison.
For the load, you have options: a resistive load bank, or simply your normal household loads run off the inverter while the array is disconnected so the draw comes only from the battery. The household-load method is the most realistic for a home system because it tests the bank exactly as it is used. The wider monitoring stack that makes all of this visible is covered in the battery monitoring guide.
Reading the Result
Compare measured amp-hours to nameplate. A grade-A 280 Ah bank that tests at 280–290 Ah is exactly right. One that tests at 250 Ah when new points to over-rated or grade-B cells — see grade A vs grade B cells. The more valuable comparison is against your own baseline: a bank that tested 285 Ah at commissioning and 270 Ah three years later is aging normally; one that drops to 230 Ah in a year has a problem, almost always a single weak cell ending the discharge early.
Watch which cell ends the test. If the same cell consistently hits the floor first while the others still have margin, that cell is your laggard — either drifted out of balance or genuinely weaker. Rebalancing (covered in re-balancing drifted cells) fixes the drift case; it does nothing for a genuinely weak cell, which a capacity test on that cell alone will confirm.
Tools and Steps at a Glance
| Step | What You Do | What to Watch |
|---|---|---|
| 1. Full charge | Charge to absorption, let it finish | All cells at the top, balanced |
| 2. Zero the counter | Reset shunt amp-hours at full | Shunt reads 0 Ah |
| 3. Apply load | Steady 0.2C–0.5C draw | Stable current, no overheating |
| 4. Discharge | Run until first cell hits its floor | Per-cell voltages, which cell ends it |
| 5. Read result | Record amp-hours counted out | Measured Ah vs nameplate and last year |
How Long Does a Capacity Test Take?
Plan for the better part of a day. The discharge time is simply the inverse of your C-rate: at a 0.2C draw a full pack takes about five hours to empty, at 0.5C about two. On my 280 Ah bank I run the test at roughly 0.3C – close to 84 A – which drains it in a little over three hours, slow enough to mirror real use but quick enough to finish attended in an afternoon.
Then add the recharge, which at a typical solar or grid charge rate often takes longer than the discharge itself – a 50 A charge into a 280 Ah bank is the better part of six hours from empty. The practical upshot: start the discharge in the morning so the deep phase finishes while you are watching, and never begin the first run of a new bank late in the evening where it would sit near empty overnight.
There is no need to rush the rate to save time, either. Pushing the discharge up to 1C to finish faster warms the cells and slightly understates capacity, because a LiFePO4 cell delivers a few percent fewer amp-hours at high current than at the gentle rate it will usually see in service. A moderate 0.2-0.5C draw gives both the most representative number and the safest, coolest test.
Do It Safely
A capacity test deliberately takes the bank to its low-voltage limit, which is deeper than your normal daily cutoff — so do it attentively, not overnight unattended on the first run. Stop at the BMS per-cell low-voltage limit; do not chase extra amp-hours by pushing a cell below its floor, which stresses it for no benefit. Recharge promptly afterward rather than leaving the bank sitting near empty. Keep the load within the bank’s and wiring’s rated current, and make sure your DC fusing — a Class-T fuse on the main bank — is in place before you start pulling sustained current.
Because the test ends at the weakest cell, you are never actually over-discharging the pack as a whole; the BMS and your per-cell monitoring protect the laggard. That is the elegance of testing to the first-cell-floor: it is both the most accurate measure of usable capacity and inherently the safest stopping point.
Frequently Asked Questions
How do I test the real capacity of a battery bank at home?
Fully charge the bank, zero a shunt-based amp-hour counter, then discharge through a steady known load until the first cell reaches its low-voltage limit. The amp-hours the shunt counted out is your real capacity. Compare it to nameplate and to your own baseline from previous tests.
What load should I use for a battery capacity test?
A steady draw in the 0.2C to 0.5C range is ideal – gentle enough to be representative and safe. You can use a resistive load bank or simply run normal household loads off the inverter with the solar array disconnected, so the draw comes only from the battery.
How often should I capacity-test my battery bank?
Test once at commissioning to set a baseline, then about once a year to track fade. A slowly declining number across years is normal aging. A sudden drop, especially with the same cell ending the discharge early, points to a developing weak cell rather than ordinary wear.
Why does my bank test below its nameplate capacity?
If it tests low when new, the cells were likely over-rated or grade-B rather than true grade-A. If it tested fine before and has dropped, one cell is probably ending the discharge early. A capacity test measures the weakest cell, since the discharge stops when any cell hits its floor.
Is it safe to fully discharge a battery for a capacity test?
Yes, when you stop at the BMS per-cell low-voltage limit rather than pushing a cell below its floor. The test ends at the weakest cell, so the pack is never truly over-discharged. Do the first run attended, keep the load within rated current, and recharge promptly afterward.