Important Disclaimer
BatteryStorageHQ provides educational content and estimates only. We are not certified installers, financial advisors, or electricians. Always consult with licensed professionals.
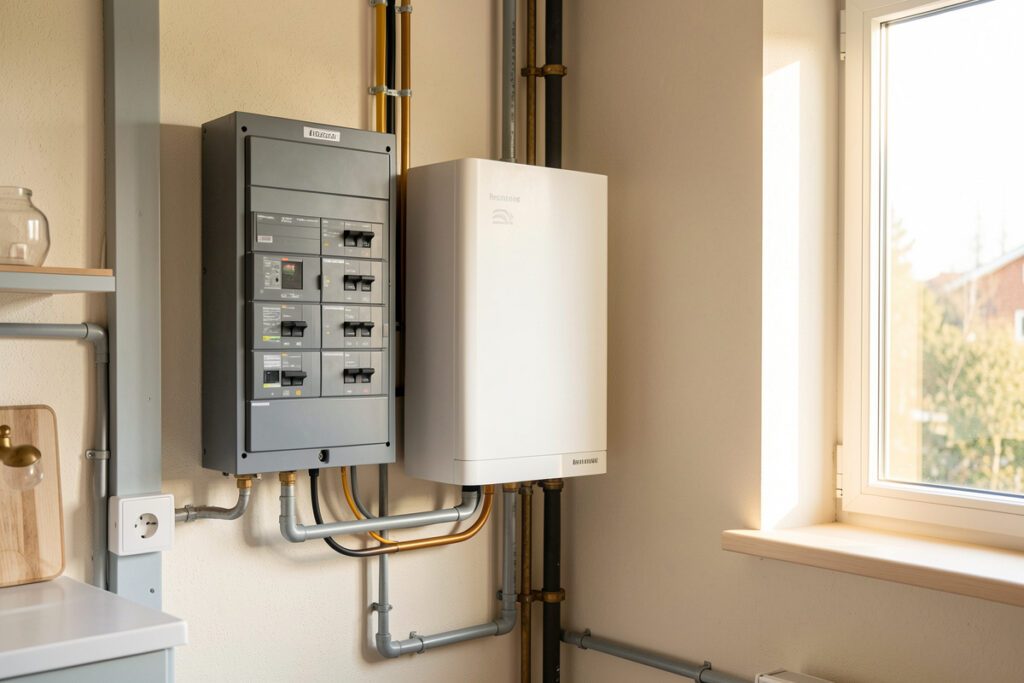
A home backup power system is a battery bank, an inverter, and a switch that decides which circuits keep running when the grid drops. For most houses the honest answer is not “whole-home off-grid” but a 10–20 kWh LiFePO4 bank feeding a critical-loads panel through a transfer switch — enough to carry a fridge, a well or sump pump, lights, internet and a furnace fan for a day or two, sized to your real loads rather than to a brochure.
I run this exact shape at home in Sweden: a 16S LiFePO4 bank I built from bare 280 Ah prismatic cells, a hybrid inverter tuned by hand, and a small south-facing array that does almost nothing useful in December. Everything below is the framework I wish someone had handed me before I bought my first cells — the decisions that actually matter, in the order you have to make them, and the marketing lines worth ignoring. This is the hub; each section links to a deeper guide on the specific piece.
What “home backup power” actually means
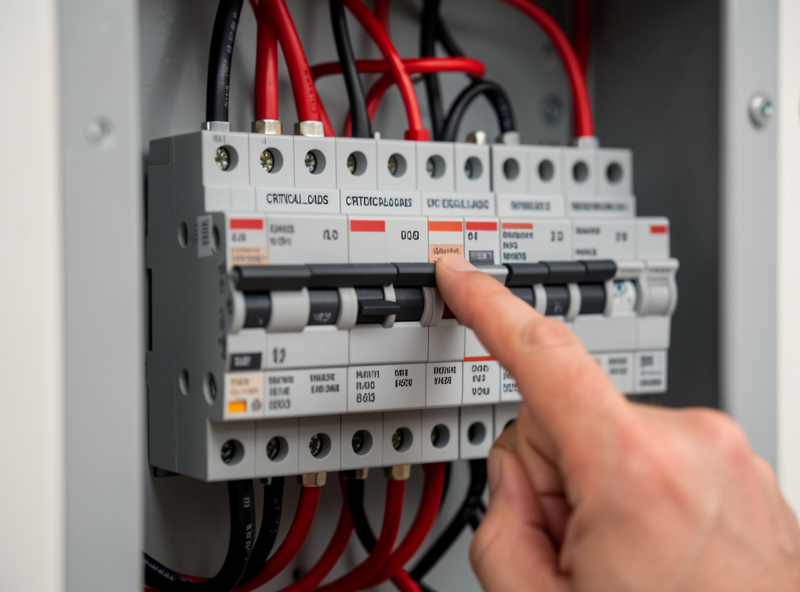
There are three different systems people lump under one phrase, and they cost wildly different amounts. Whole-home backup carries every circuit in the panel, including the electric range, dryer and heat pump — it needs the largest inverter and the biggest bank. Critical-loads backup carries a hand-picked subset — fridge, pumps, lights, networking, a furnace fan — through a dedicated subpanel, and it is what most installs should be. Grid-tied with backup sells solar to the grid in normal times and islands automatically to run your loads during an outage.
The mistake I see most often is paying for whole-home capability to back up loads that would fit in a critical-loads panel a quarter of the size. Decide which of the three you are actually building before you price anything, because that choice sets your inverter, your bank, and your wiring. My full breakdown of setting up a critical-loads panel walks through how to pick the circuits.
Off-grid vs grid-tied-with-backup: the honest version
True off-grid means no utility connection at all — you carry every kilowatt-hour you use, in every season, with zero fallback. In a northern climate that means sizing for the worst week of the year and then watching that capacity sit idle for the other fifty. Grid-tied-with-backup keeps the utility as your infinite winter battery and uses your bank for the hours the grid is actually down. For 95% of households the second option is dramatically cheaper, safer, and less work, and I say that as someone who genuinely enjoys the off-grid fantasy.
The phrase “energy independence” gets attached to battery systems constantly, and it is mostly marketing. A bank gives you resilience — the lights stay on through an outage — not independence from physics or from your November electricity bill. If you want to understand the seasonal math properly, my northern-latitude array sizing guide shows exactly how the winter gap opens up.
Sizing: energy and power are two different problems
Every sizing mistake I have made — and every one I have fixed for other people — comes from confusing energy with power. Energy (kWh) is how much you store and decides how long the bank lasts. Power (kW) is how fast you can pull it and decides what you can run at once. A 15 kWh bank behind a 3 kW inverter has plenty of energy and not enough power to start a well pump and a microwave together.
Start from a real load audit, not a guess. Add up the watt-hours your must-run loads draw over 24 hours, divide by the depth-of-discharge you are willing to use (80% is sane for LFP), and you have your minimum usable bank. Then size the inverter to the largest simultaneous surge, not the average. The two near-universal errors are oversized solar panels feeding an undersized inverter, and a bank rated in kWh that nobody checked against the kW the house actually pulls. My whole-home backup sizing guide works a full example end to end, and the honest load guide covers what individual appliances actually draw.
Here is the shape of a real critical-loads audit so the method is concrete. A fridge averages roughly 1.2–1.5 kWh a day once you account for the compressor duty cycle. A modern gas furnace’s blower and igniter might pull 400–600 W while running, a chest freezer another 1 kWh a day, LED lighting and chargers a couple hundred watt-hours, and a router plus an ONT maybe 0.3 kWh. Add a well pump that cycles a few times a day and you land near 6–8 kWh over 24 hours. Divide that by 80% usable depth-of-discharge and you want roughly 8–10 kWh of nameplate LFP to ride a full day, or double it for the two-day outages a winter storm actually produces. None of those numbers are exotic — they are what shows up in my Home Assistant energy dashboard when I isolate those circuits. The point is that you build the bank from a measured list, not from a round number that felt safe.
The battery: why LiFePO4, and build vs buy
LiFePO4 (LFP) won home storage for reasons that have nothing to do with marketing: it cycles 3,000–6,000 times to 80% capacity, it does not enter thermal runaway the way NMC can, and it tolerates a partial state of charge happily. The tradeoff is lower energy density and worse cold-charging behavior — you must never charge LFP below freezing, which in my climate is the single rule people break most often. The winter storage guide covers siting and heating the bank.
You can buy a sealed wall battery or build a bank from bare prismatic cells. I build — a 16S string of grade-A 280 Ah cells, top-balanced to 3.65 V on a bench supply before assembly and held in a compression fixture between end plates. That top-balance step is the one DIY failures skip, and it is why a lagging cell trips the BMS on charge six months later. I also keep a deliberate reference bank of older CALB and grade-B pulls precisely so I can watch what aging looks like — a matched grade-B set behaves very differently at three years than a grade-A set, and seeing both side by side is the cheapest education in cell quality you can buy. Building is cheaper per kWh and teaches you the system, but it is real electrical work with real fire stakes. If you want the full process, the DIY LiFePO4 build guide is the start-to-finish version, and BMS selection covers the brain of the pack.

The inverter: surge is the spec that matters
Datasheets lead with continuous wattage. The number that decides whether your house actually stays up is the surge rating — the brief overload the inverter tolerates when a motor’s locked-rotor current (LRA) hits at startup. A well pump, a deep-well submersible, a compressor, my workshop welder — each can draw three to seven times its running watts for a fraction of a second. Size the inverter to that surge or it will brown out and drop the load exactly when you need it.
Low-frequency inverters use a heavy toroidal transformer and shrug off these surges; high-frequency units are lighter and cheaper but have far less surge headroom. I run a Victron MultiPlus-II as my reliability benchmark and have browned out a high-frequency all-in-one the first time the welder fired — a lesson that stuck. Always buy a pure sine wave inverter; modified sine is fine for resistive heaters and ugly for everything with a motor or a switching power supply. For motor-heavy loads, my notes on running a heat pump or AC from batteries and the mini-split backup guide go deeper on surge.
Getting power to the loads: transfer switch and subpanel
You cannot legally or safely just back-feed your panel from an inverter — that puts live voltage on the utility lines and can kill a lineman. A transfer switch is the device that disconnects your loads from the grid before connecting them to your backup source. Manual transfer switches are cheap and require you to flip them; automatic transfer switches (ATS) sense the outage and switch in seconds. The choice depends on how many circuits you are backing up and whether you will be home to throw a switch.
Most critical-loads installs pair the transfer switch with a small subpanel holding only the circuits you want to keep alive. That keeps the inverter sized to a sane load and makes the wiring honest. I cover the selection logic in the transfer switch guide and the panel build in the critical-loads panel guide. Whatever you do, the interconnection has to follow code — see NEC for home energy storage and battery wiring safety.
Grid-tie, net metering and anti-islanding
If your system exports solar to the grid, two things become non-negotiable. Net metering is the utility arrangement that credits you for exported energy — the economics vary enormously by jurisdiction and change often, so I treat the headline numbers as something professional installers and your utility tariff define, not something I can promise. Anti-islanding is the safety function that forces a grid-tied inverter to shut down within milliseconds when the grid goes dead, so it never energizes a downed line. It is mandated by UL 1741 / IEEE 1547 and it is the reason a plain grid-tie inverter goes dark in an outage unless it is specifically a hybrid or “secure power” unit.
This is the part beginners get wrong: a standard grid-tie solar system does not give you backup. The anti-islanding relay shuts it off the moment the grid fails. You need a hybrid inverter and a battery, with a transfer switch that creates a deliberate island, to ride through an outage. The details are in the net metering and solar battery guide and the anti-islanding requirements guide.
Time-of-use arbitrage: the honest economics
If your utility charges different rates by time of day, a battery can charge when power is cheap and discharge during the expensive peak — “arbitrage”. On the right tariff with a big enough spread it shaves a real amount off the bill. On a flat-rate tariff it saves nothing, and the cycle wear is not free. I will not put a currency figure on it because it depends entirely on your rate plan, but the method for working out whether it pays for your numbers is in the time-of-use arbitrage guide. Treat backup as the reason you own the bank and arbitrage as a bonus, not the other way around.
Backup approaches compared
| Approach | Typical bank | Inverter need | Runs in an outage? | Best for |
|---|---|---|---|---|
| Plain grid-tie solar (no battery) | None | Grid-tie only | No — anti-islanding shuts it off | Bill offset only, never backup |
| Portable power station | 1–5 kWh built in | Built in, low surge | A few critical plug loads | Renters, small outages, no wiring |
| Critical-loads battery backup | 10–20 kWh LFP | 4–8 kW hybrid | Yes — chosen circuits | Most homes |
| Whole-home backup | 20–40+ kWh LFP | 8–12 kW, often stacked | Yes — everything | Large loads, frequent outages |
| Battery + generator hybrid | 10–20 kWh LFP | Hybrid + ATS | Yes — indefinitely | Long northern outages |
For renters or anyone unwilling to do panel work, a power station for outages is the no-wiring entry point. For long winter outages, a generator filling the gap behind the bank is the realistic answer — see generator backup for solar.

My northern-latitude reality check
Here is the part the unboxing videos skip. My south-facing array makes solid power from April to September and almost nothing useful in December — the worst weeks produce a small fraction of nameplate. Cold weather also raises a string’s open-circuit voltage (Voc), and I have watched a cold morning push a string near the inverter’s input ceiling; the winter sizing guide covers that wiring margin. In my Home Assistant logs the bank carries the house comfortably through summer outages on solar alone, while a January outage of more than a day leans on the generator. That is not a failure of the design — it is what honest sizing looks like at 59° north.
The same 16S bank that backs my workshop also runs the sauna pre-heat, the curing chambers and the hydroponic pumps, and one Home Assistant rule engine watches state-of-charge, per-cell voltage and daily PV for all of it. Surge capacity stops being theory the moment the welder fires. If you want a comparison against the sealed-appliance route, I lay it out in whole-home backup vs Powerwall, and the broader Powerwall alternatives roundup covers the buy-it route.
The two mistakes that sink most first builds
If I could prevent only two errors, these are the ones. The first is treating the inverter as an afterthought once the battery and panels are bought — people spend their budget on kWh and grab the cheapest inverter that matches the continuous load, then watch it stumble the first time the well pump and the fridge compressor start within the same second. The fix costs nothing but planning: spec the inverter to surge first, then buy the battery to feed it. The second is skipping the boring commissioning steps — top-balancing the cells, torquing busbars to the cell maker’s spec, and setting absorption and float to LFP-correct values instead of the lead-acid defaults the inverter ships with. A bank that was never top-balanced will look perfect for months and then start tripping on a single high cell during absorption, and by then the fix means pulling the bank apart. Both mistakes are invisible on day one and expensive on day two hundred. Slow down at commissioning; it is the cheapest insurance in the whole project.
Build order and safety, in short
Work in this order: load audit → usable kWh → inverter surge → battery chemistry and bank → transfer switch and subpanel → grid-tie and code. Fuse the bank with a properly rated DC fuse — a Class-T on the main LFP bank — torque every busbar to spec, ventilate the enclosure, and keep a CO2 or Class-C extinguisher nearby — residential energy storage installs are governed by NFPA 855, the standard for stationary battery systems. None of this is optional. A confident-but-wrong fusing or charge-temperature setting is the one mistake that turns an expensive hobby into a house fire. The wiring safety guide and off-grid design guide are the references I keep open while building.
As an Amazon Associate I earn from qualifying purchases. When I point at hardware below it is a search for the category, not a specific affiliate SKU: a manual transfer switch and a Class-T fuse for the main bank are the two parts most first builds under-spec.
Frequently Asked Questions
How big a battery do I need to back up my house?
For critical loads (fridge, pumps, lights, internet, furnace fan) most homes need 10 to 20 kWh of usable LiFePO4 capacity for a day or two. Whole-home backup including range, dryer and heat pump pushes 20 to 40 kWh. Size from a real load audit, not a brochure.
Will my grid-tie solar power the house during an outage?
No. A standard grid-tie inverter has anti-islanding protection that shuts it off within milliseconds when the grid fails, so it never energizes a downed line. You need a hybrid inverter, a battery and a transfer switch to ride through an outage.
Do I need a transfer switch for battery backup?
Yes. You cannot safely back-feed your panel from an inverter because it can put live voltage on utility lines. A transfer switch disconnects your loads from the grid before connecting them to backup. Manual switches are cheap; automatic switches do it for you in seconds.
What inverter spec matters most for backup?
Surge rating, not continuous watts. Motors draw three to seven times their running power at startup. A low-frequency pure sine inverter handles these surges; a high-frequency unit with thin surge headroom browns out when a pump or compressor kicks in.
Is it cheaper to build a battery bank or buy a sealed one?
Building from bare LiFePO4 cells is cheaper per kWh and teaches you the system, but it is real electrical work with fire stakes and demands top-balancing, compression and correct DC fusing. A sealed wall battery costs more per kWh and is plug-and-play.
Can I save money with time-of-use arbitrage?
Only on a tariff with a real price spread between off-peak and peak. On a flat rate it saves nothing, and cycling the battery is not free wear. Treat backup as the reason to own the bank and arbitrage as a bonus on the right rate plan.